August 10th, 2014
I have been tinkering with the vanilla source code of Wolfenstein 3D from 1992. Even though it
is more than 20 years old and has rotten for modern systems, you can still compile it if you recreate the environment.
All you need is :
- Wolfenstein 3D source code.
- DosBox.
- The Compiler Borland C++ 3.1.
- Wolfenstein 3D shareware (for the assets).
Setup filesystem
Open a command line and create two folders, one for each DOS drive needed:
   cd ~
   mkdir system
   cd system
   mkdir c
   mkdir a
   cd ~
Download
- Download Borland 3.1 to
system/a. - Download Wolfenstein 3D source code to
system/c - Download VGA files to
system/c(the purpose of those is explained at the bottom of this page.
    cd system/a
    curl -O http://fabiensanglard.net/Compile_Like_Its_1992/tools/BCPP31.zip


    cd ../c
    curl -O http://fabiensanglard.net/Compile_Like_Its_1992/tools/wolfsrc.zip
    curl -O http://fabiensanglard.net/Compile_Like_Its_1992/tools/vgafiles.zip
Now we have all the files in the filesytem. Just to check, type:
   cd ..
   find ~/system
You should have the following :
    /Users/fabiensanglard/system
    /Users/fabiensanglard/system/a
    /Users/fabiensanglard/system/a/BCPP31.zip
    /Users/fabiensanglard/system/c
    /Users/fabiensanglard/system/c/vgafiles.zip
    /Users/fabiensanglard/system/c/wolfsrc.zip
Decompress everything
    cd ~/system/a
    unzip BCPP31.zip

    cd ~/system/c
    unzip vgafiles.zip
    unzip wolfsrc.zip
DosBox
Download and start DosBox:
Mount
Mount the filesystem, one folder for each drive :
   Z:/> mount c ~/system/c
   Z:/> mount a ~/system/a
Install the compiler
Now is time to install Borland C++ 3.1 :
    Z:\> a:
    A:\> cd BCPP31
    A:\> install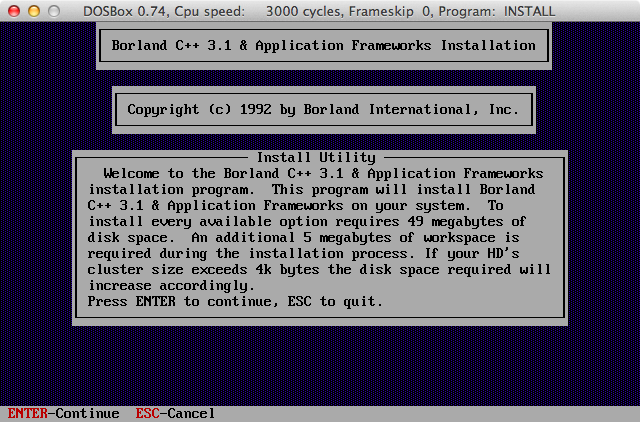
Press enter when you select the source drive ( it should already be A drive )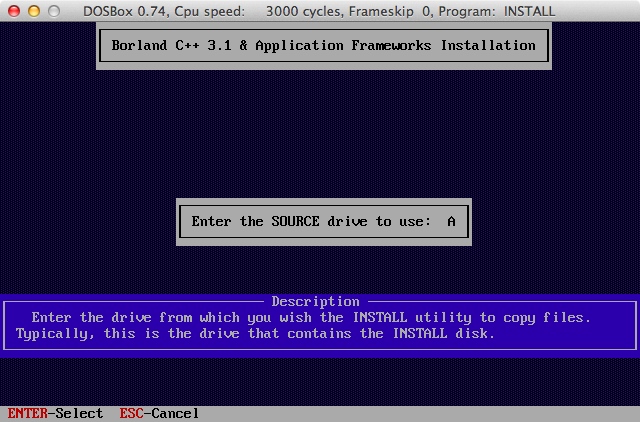
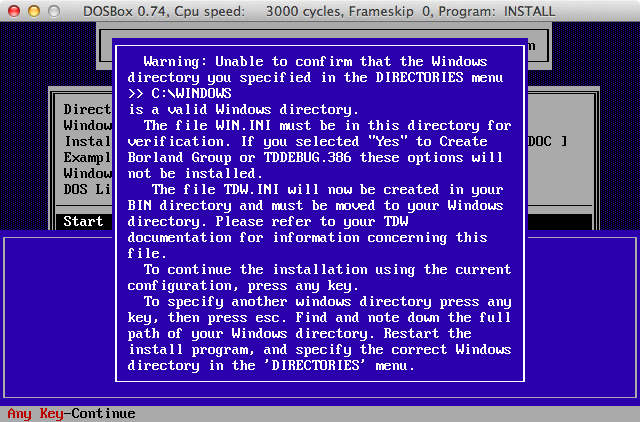
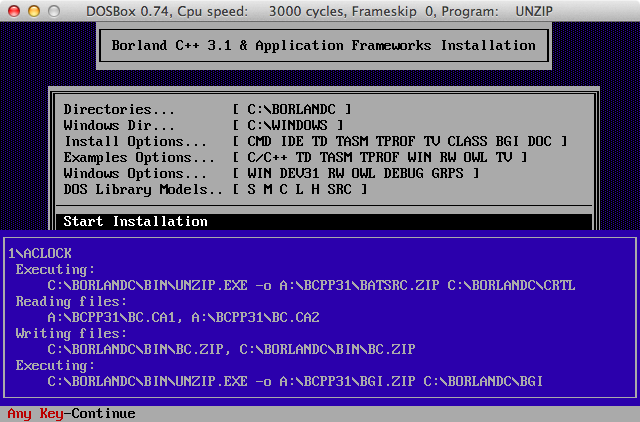
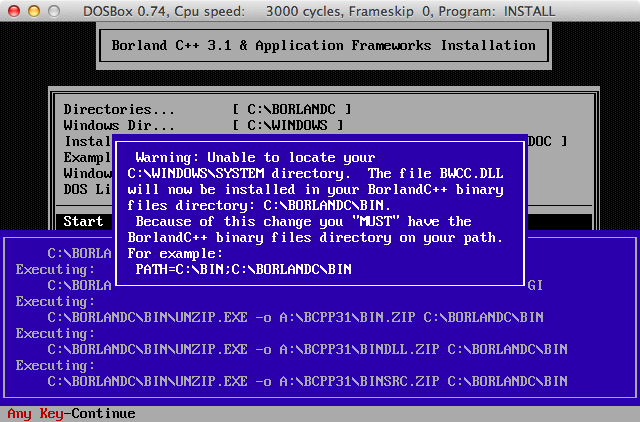
Leave all the default settings and select "Start Installation":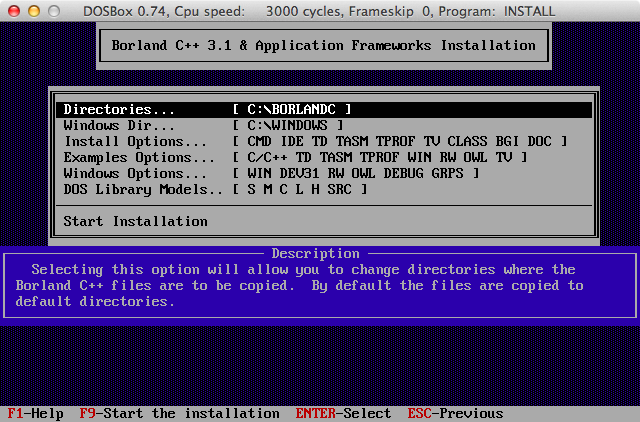 The warnings will tell you that Microsoft windows folder could not be found but it is not needed anyway,
just press Enter.
Install Wolfenstein 3D source code
We have a system running and a compiler on it: Time to decompress (again) the source code.
  A:\> c:
  C:\> cd\
  C:\> install
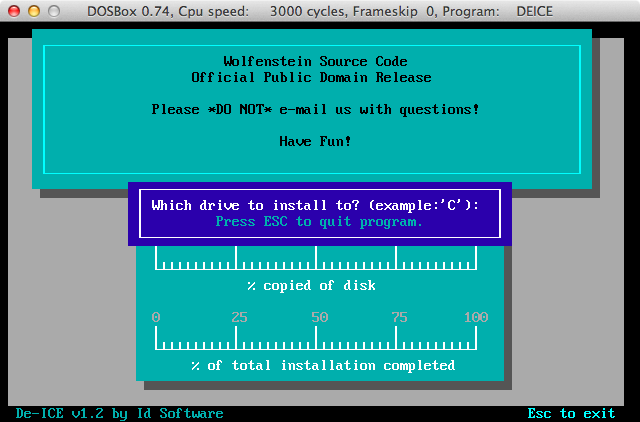
Type 'C'
Keep the default path: \WOLFSRC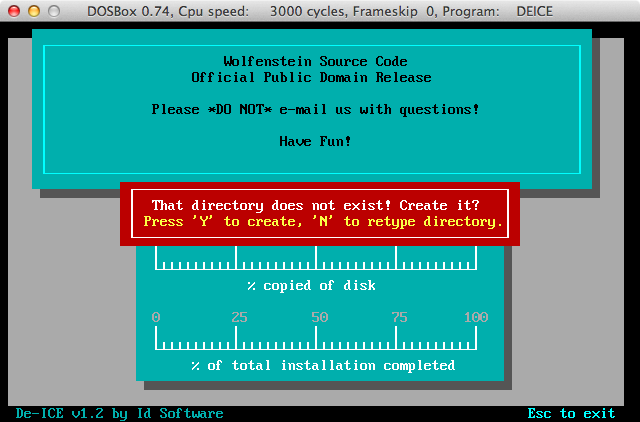
Y to create the directory.
Installing !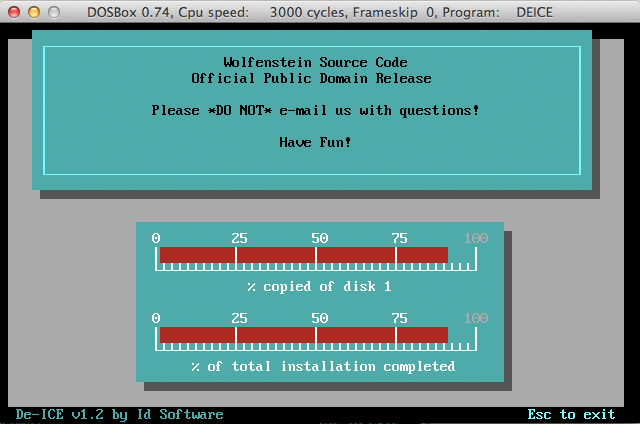
Compiling
Start Borland C++ 3.1:
     C:\> cd\
     C:\> cd borlandc
     C:\> cd bin
     C:\> bc.exe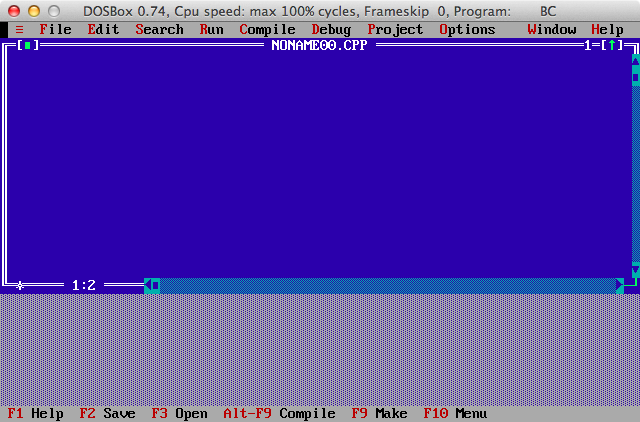
After pressing OK, use the mouse or the shortcuts to Project -> Open Project ..\..\WOLFSRC\WOLF3D.PRJ: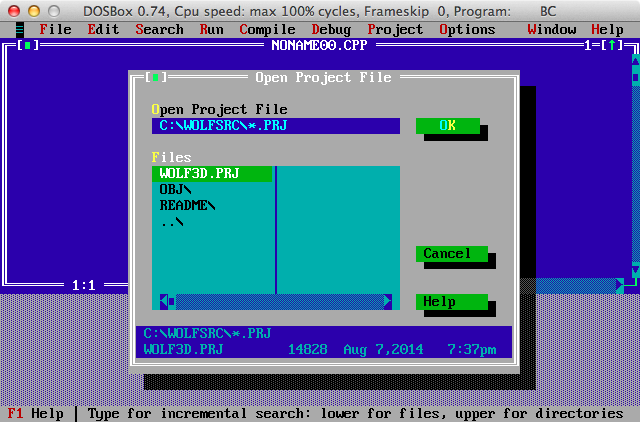
Select Options -> Directories and change the value as follow :
    Include Directories: C:\BORLANDC\INCLUDE

    Library Directories: C:\BORLANDC\LIB

    Ouptput Directories: OBJ

    Source Directories:  C:\WOLFSRC
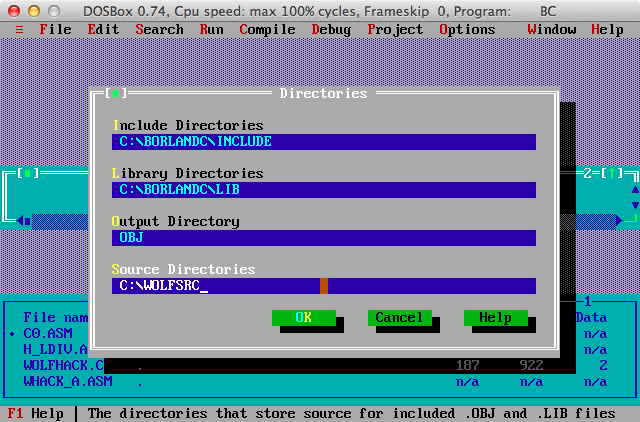
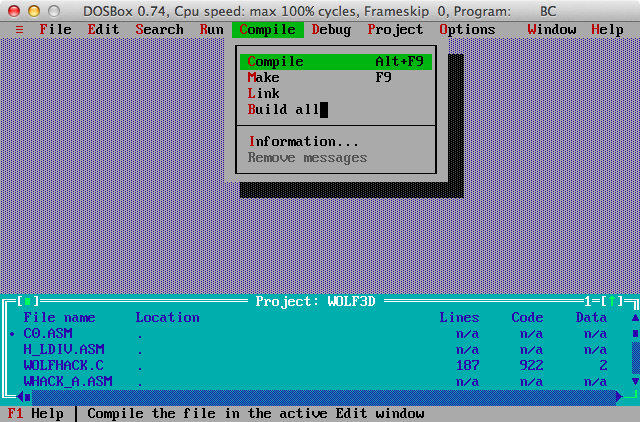
Let's try to compile: Compile -> Build All
We get an error: "Cannot find executable TASM"
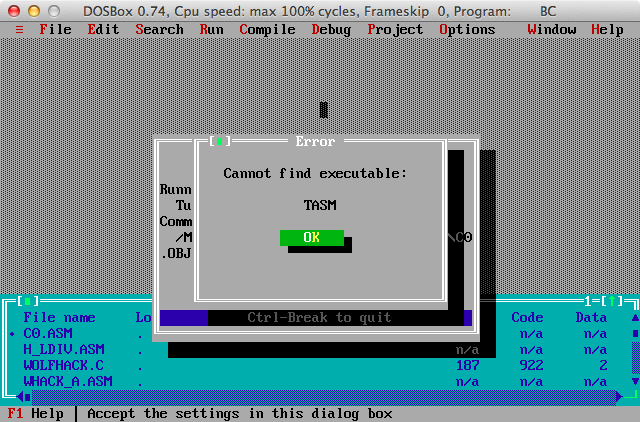
Exit Borland C++, we need to set the PATH:
     C:\> CD ..
     C:\> PATH=C:\BORLANDC\BIN
     C:\> BC.EXE
Try to compile again (Compile -> Build All):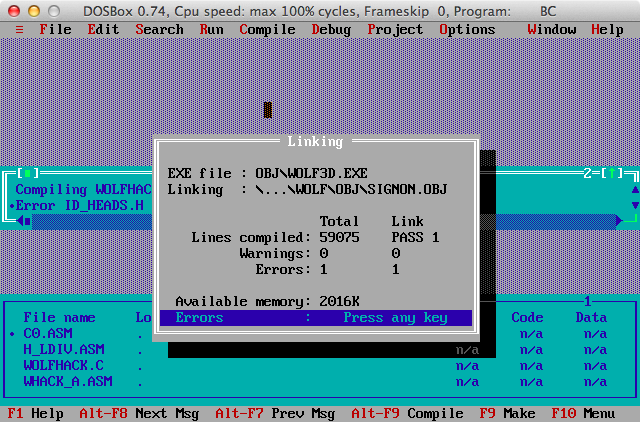
Compiling did work but the linking failed: "Unable to find OBJ file" because the path of SIGNON.OBJ and GAMEPAL.OBJ in wrong in the project:
They are marked in C:\SOURCE\WOLF\ : 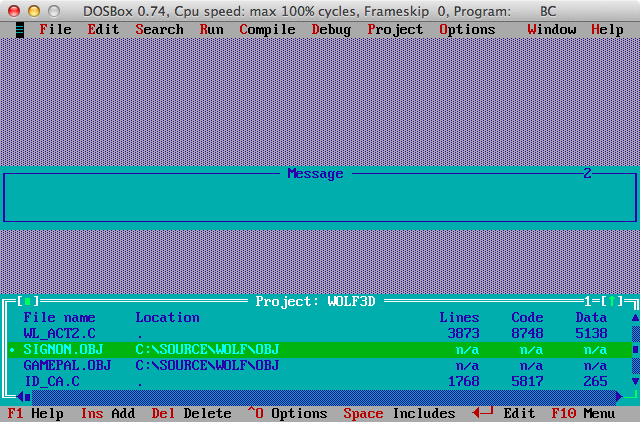
Delete them from the project (Select and the Projext -> Delete item). Add them again via PROJECT -> Add Item... . Add WOLFSRC\OBJ\SIGNON.OBJ and WOLFSRC\OBJ\GAMEPAL.OBJ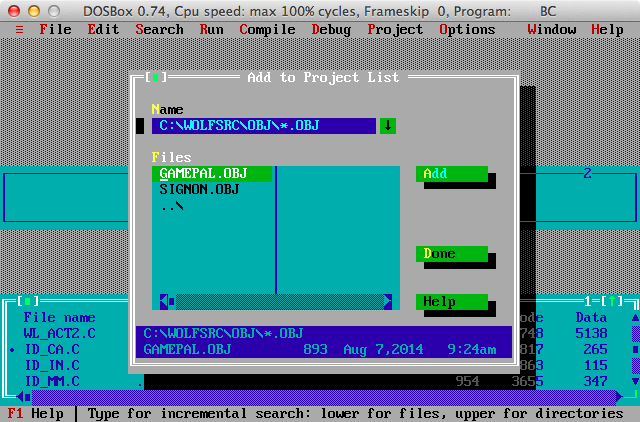
Try to compile again via (Compile -> Build All)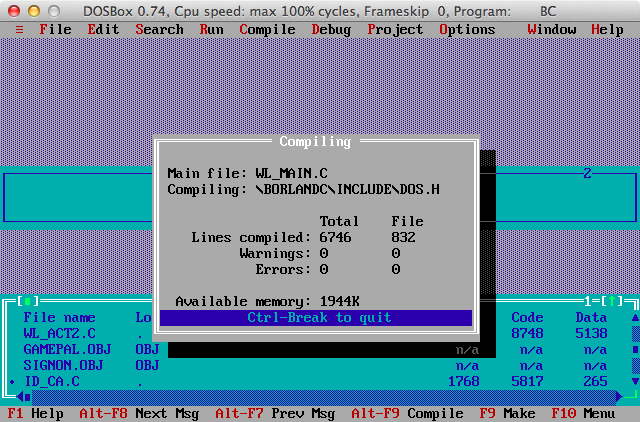
IT WORKED ! But will it run ?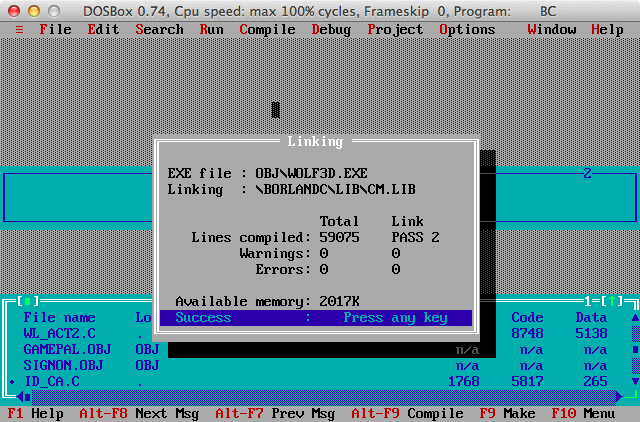
Getting the assets
Download the shareware version or even better: Purchase as full version on Wolfenstein 3D.
    cd ~/system/c
    curl -O http://fabiensanglard.net/Compile_Like_Its_1992/tools/1wolf14.zip
    unzip 1wolf14.zip
Go back to DosBox and install the game to C:\WOLF3D.
  C:\> c:
  C:\> cd \
  C:\> cd 1wolf14
  C:\1WOLF14> install
After installation of the game, copy the .EXE we just compiled to the game folder,
    C:\> c:
    C:\> cd wolf3d
    C:\WOLF3D> copy WOLF3D.EXE WOLF3D.OLD
    C:\WOLF3D> copy ../WOLRSRC/WOLF.EXE .
Running the game
Try to run it:
    C:\> cd wolf3d
    C:\WOLF3D> copy WOLF3D.EXE WOLF3D.OLD
    C:\WOLF3D> copy ../WOLRSRC/OBJ/WOLF3D.EXE .
    C:\WOLF3D> WOLF3D.EXE
Hm, that looks weird.....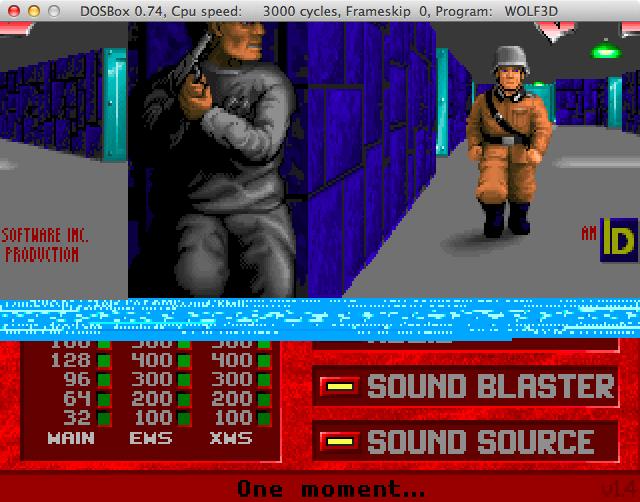
Uh...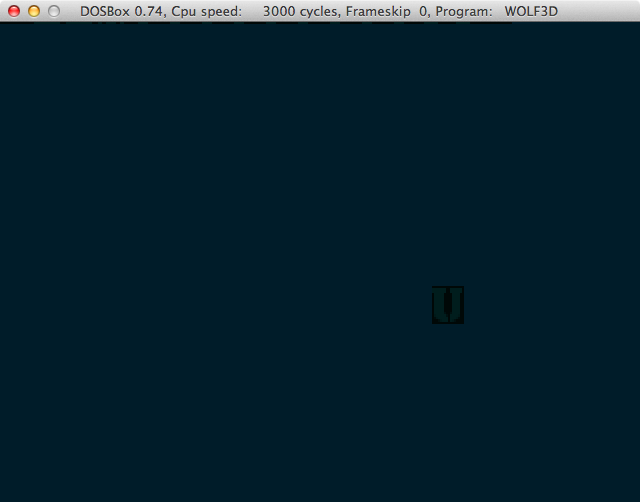
What ?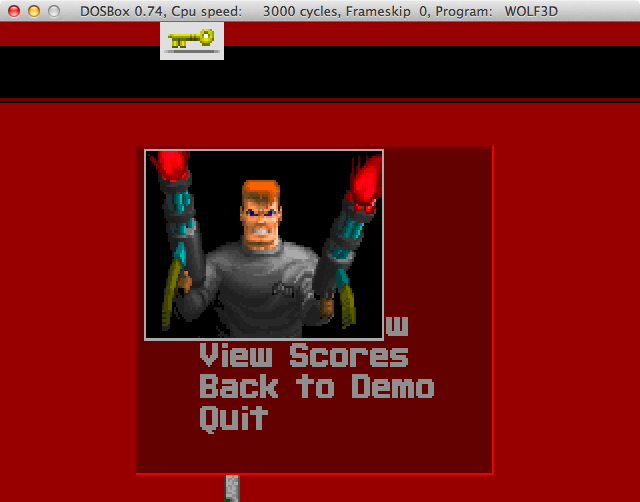
I did not remember it like that....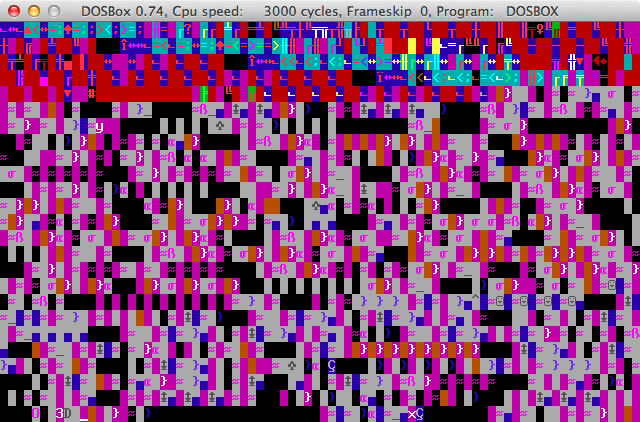
Ok something must be very wrong here !!
What happened ?
It has to do with the production access pipeline and how they are used by the engine. When Adrian Carmack and Kevin Cloud were done crafting all the graphic files, they used a tool (IGRABed) to pack them together. The output was made of 3+2 files.
- VGAHEAD.WL1
- VGAGRAPH.WL1
- VGADICT.WL1
The VGAHEAD file is an index containing pointers to the VGAGRAPH where the data is stored huffman compressed. VGADICT contains the huffman dictionaries to decompress the data.
The two other files produced:
Are compiled into engine as seen in the following drawing :
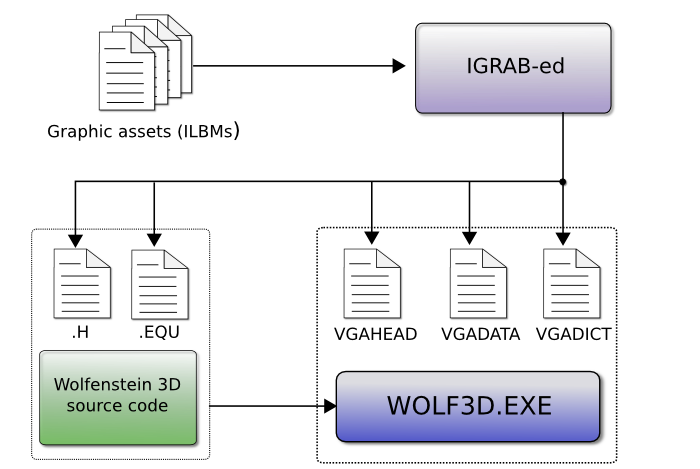
What are the .H and .EQU files needed for? In short, to allow access by name. When IGRABed assembled all files
it would also create an enum with matching indices:
GRE.H
            enum{
            H_WOLFLOGOPIC
            GETPSYCHEDPIC
            L_GUYPIC
            .
            .
            } graphicnums
GRE.EQU
            H_WOLFLOGOPIC  = 0
            GETPSYCHEDPIC  = 1
            L_GUYPIC       = 2
This way when the engine requested a particular asset, it could use a logical name (L_GUYPIC) instead of a "magic number" (2).
That means the engine shipped with the indices of the images in the VGA files HARD-CODED. Since the assets and codebase evolved after shipping wolf3D shareware (with Spears of Destiny), the newly compiled game indices do not match the location in the original assets files.
Running the game (again)
Fortunately there is a simple solution to this problem: Somebody regenerated the VGA assets so they match the indices in the .H and .EQU released with the source code. Just copy those files (if you use the shareware assets you will have to change the file extension from .WL6 to .WL1).
  C:\> copy C:\vgafiles\VGADICT.WL6 C:\WOLF3D\VGADICT.WL1
  C:\> copy C:\vgafiles\VGAGRAPH.WL6 C:\WOLF3D\VGAGRAPH.WL1
  C:\> copy C:\vgafiles\VGAHEAD.WL6 C:\WOLF3D\VGAHEAD.WL1
Let's try again:
C:\WOLF3D> WOLF3D.EXE
It works !!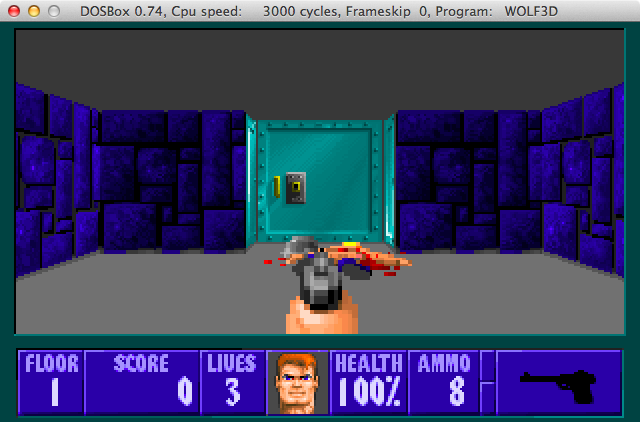
Yet we are are not done !
VGA framebuffer and screen aspect ratio
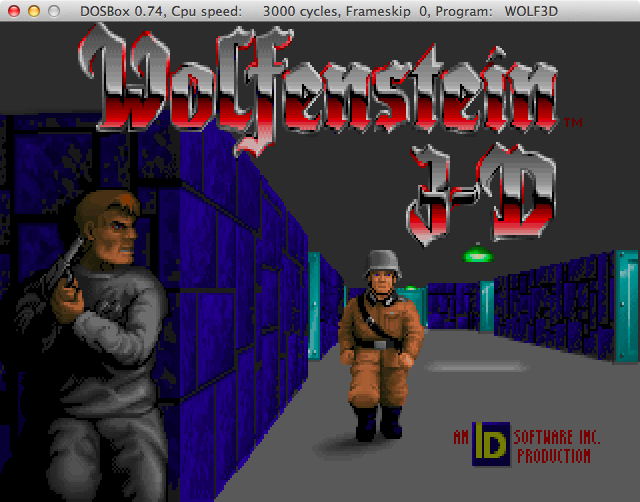
It may not be obvious to people that never saw the original game but the DosBox image above is not what people saw in 1992.
The VGA framebuffer was 320x200 but the CRT monitors had an aspect ratio of 4:3. Which mean the framebuffer was stretched vertically
when sent to the monitor. DosBox has an option to compensate for that :
     vi ~/Library/Preferences/DOSBox\ 0.74\ Preferences

    [render]
    # frameskip: How many frames DOSBox skips before drawing one.
    # aspect: Do aspect correction, if your output method doesn't support scaling this can slow things down!.
    # scaler: Scaler used to enlarge/enhance low resolution modes.
      # If 'forced' is appended, then the scaler will be used even if the result might not be desired.
      # Possible values: none, normal2x, normal3x, advmame2x, advmame3x, advinterp2x, advinterp3x, ...

    frameskip=0
    aspect=false
    scaler=normal2x
Change that aspect to true:
Try again :
C:\WOLF3D> WOLF3D.EXE
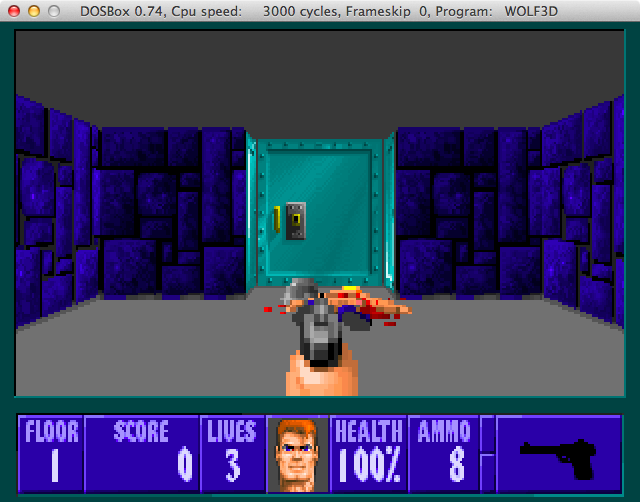
Finally, IT WORKS !
Recommended Readings
Comments
Fabien Sanglard @2014
