Hadjoudj Mohamed did a good job for an initial design but there are a few easy to avoid beginner problems.
This tutorial is based on showing him how to improve, alter and easily modify his character. A lot of the hints work with pretty much any character you create for an illustration or a game.

This video is an introduction to using spine to get started with game art animation. The video is aimed at beginners and users familar with the software or cutout animation might find it a little slow.
I am using spine from esoteric software for this video (currently in version 3.5.46). Even though I prefer to cover free tools on my blog, I am making an exception as the tool is a great help for game art creation. Spine is available in the essential version (without some of the more advanced features like IK and mesh deformation) for $69.
I used the robot from the ealier 'complete game art tutorial' series and uploaded the art here. The archive includes the exported .png files, the inkscape source file as .svg and .png and the current spine project (with the setup and two idle animation).
I hope you enjoyed the tutorial as I plan continue this series of video tutorials on character animation in spine (and Spriter and DragonBones).
The year is coming to an end and it's not been treating me too well... I had ongoing health issues and left Serbia where I was working with a bunch of friends. Long periods of testing new medication to help me with my pains and aches ended without much of a result... but hey...
I am still around and kicking. In order to end 2016 on a sweeter note, I will be giving away all BlockBuddies (single characters and packs) for free (for a limited time).
Grab them while they are there!
Have a happy and successful 2017 - may all your wishes come true and your game projects reach completition!
Here's the preview of (most of) the available characters:
(there are some samurai and a mummy missing in this image for starters)
I was a little bit lazy... and didn't alter the prices on the blog pages though. As soon as you click on the buy button you should see the discounted price on the sellfy page - 0.00.
Sellfy requires a share... Sorry... I can't bypass that either.
It's been a while and as usual a mix of real life turmoil and health issues stopped me from doing what I enjoy... but I have not been 100% lazy, laid back and enjoyed a nice long vacation.
I started to work my way into Spine and Spriter to finally get to those animation tutorials. There is one waiting for the robot game, another one from the request list and the special fx swoosh and swirl parts would like nice animated.
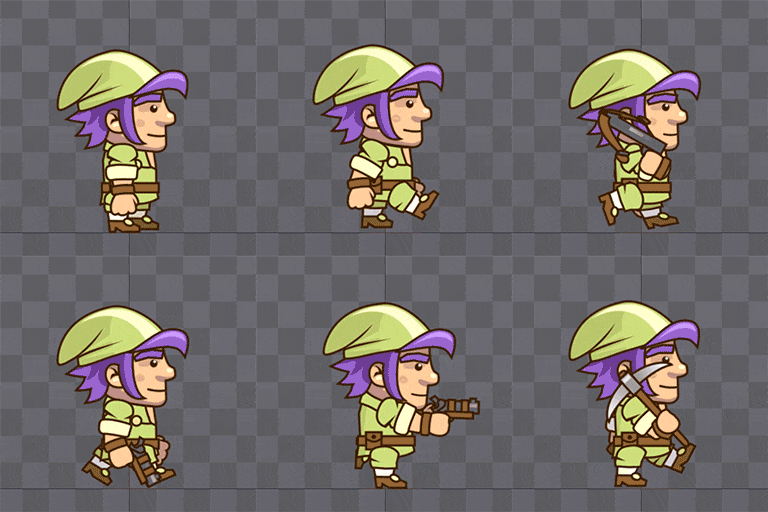
So... I went and took the Green Dwarf (from the free art bits) and modified him a little bit to work. Just a minor variation on the faces and mouth parts.
 I started with a basic idle animation (to see how things interact), continued with a walk (which is a little more complex when you have fixed legs and not separated upper, lower legs and feet) and then played with the tools that are part the dwarf art. The walk would look different with or without them. Luckily it's a breeze creating a copy of an animation in Spine and modifying it to create variations.
 Most of these include art by yours truely - also free to use. As far as I know the art is inside the projects but can be exported.
The templates also come with music from a very talented musician.
Check it out!
Note:
I will try and find my png files and will sort, pack and upload them for easier integration into other game engines.
The result was a working game with 'coder art' and UX/ UI problems that come with it (e.g. placing the play button away from the easy reach of the fingers, fading the buttons too much with the background, etc.).
 The character was simple enough to allow a couple of funny variations.
 Note:
I used CorelDraw for the animation process. The combination of multiple pages (that export nicely to layered psd files, which make it easy to export separate png files of the same size) and the use of symbols make it very easy to create the base set of images and alter them for those variations.
The character has an idle animation, flying up, crashing and a game over animation - all up 22 frames. Once these frames where set up I just needed to alter the symbols once and CorelDraw would update all 22 pages of the animation for me.
The game is finally out on kongregate:
http://www.kongregate.com/
The main changes are the names of the tools, the short-cuts and minor differences in the way the tools work.
So... let's get started with circles or as Affinity Designer calls them - ellipses. Keep in mind that this is just one way to do it and you might prefer hand-drawing them or using the pen tool and creating the curves manually.
I quite often use these 'quick clouds' for layered backgrounds - usually with a few layers of mountains, trees or even city skylines on a layer on top.


