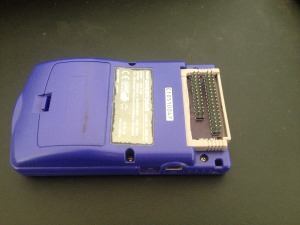
Wolf – Gameboy cartridge with co-processor
Work in progress game logic and AI:
Implemented most of the game logic, and basic AI which still needs some tweaking.
Also added some “glue” stuff such as title screens, fade in/out and so on (Menu, Elevator, Game Over & Victory screens are not yet finished).
With 3 enemy types, and the 10 levels from Episode 1, I am starting to reach the limit on how much more I can put on the ROM.
Currently sitting at 123Kb out of the 128Kb available so there’s still room for a little more stuff.
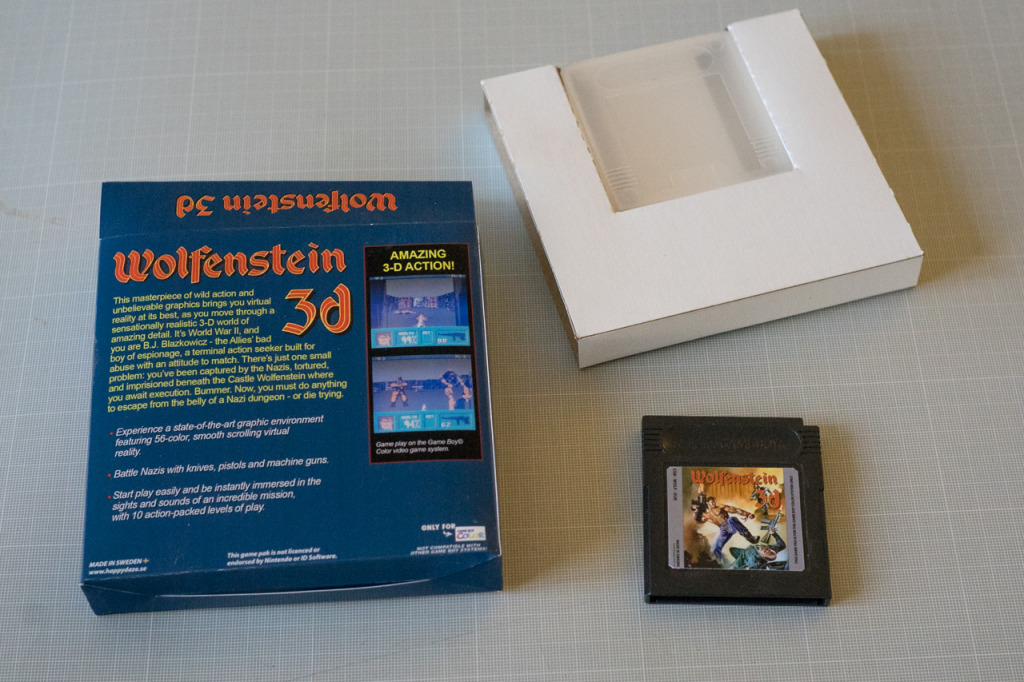
Made a box and a sticker for the cartridge: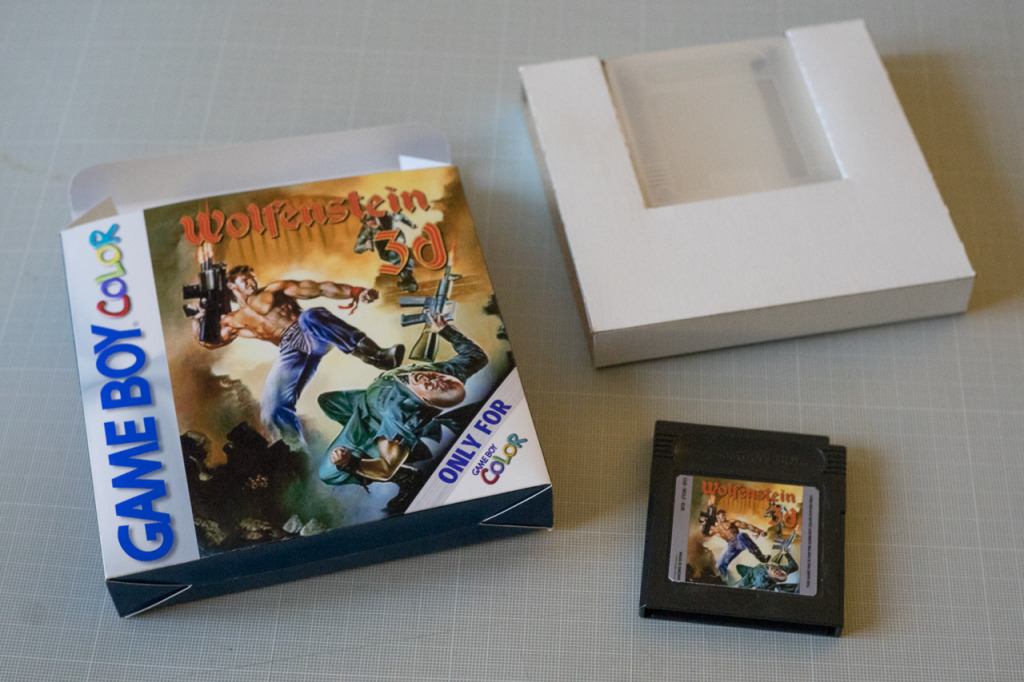
Added a few features to wolfenstein game.
– Collision against walls and objects
– Pickups
– Weapons
– Some sound effects
Next step is probably going to be interactions with doors & secret walls.
Memory stats:
Refactored the map converter to reduce memory overhead.
It looks like we are on track for fitting the first episode (10 levels) on cartridge.
I’m not worried about RAM any more, 3kb remaining is plenty!
ROM usage looks promising for fitting the remaining 9 maps, some more map objects, and the enemy sprites.
Some progress on the raycaster test:
Made some tools for converting the original Wolfenstein3D maps.
Added doors that can open and close.
Memory optimizations! RAM and ROM is extremely limited.
Music and sound playback.
HUD in progress.
Raycaster test with sprites and colors:
Frame overview:
Started documenting the technical bits, mostly so I don’t forget.
This is roughly how one gameplay frame could look like on the two CPU’s.
It should be possible to HDMA additional tiles betwen the two VBlanks, so we could in fact fill almost the entire screen with tiles from the KE04.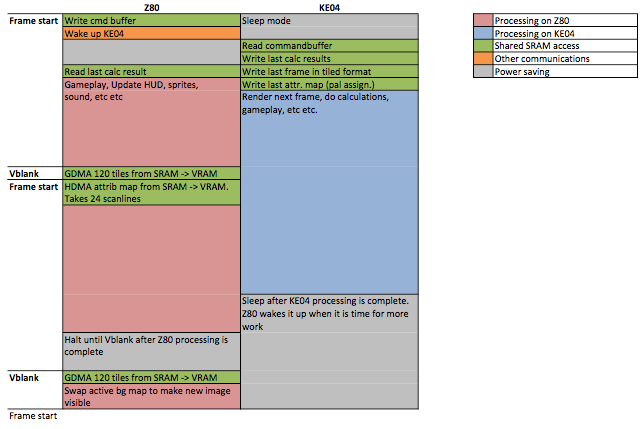
Experimenting with colors:
The Gameboy has a clunky way of handling colors. Especially if you try to do anything other than rendering tiles.
It has a total of 8 palettes of 4 colors each, and each 8×8 tile can be assigned to one palette.
The KE04 tries to find the best matching palette for each tile. To reduce color errors I decided to make each palette mostly grayscale with a single accent color.
Each texture on the KE04 will use a single palette due to memory and performance reasons.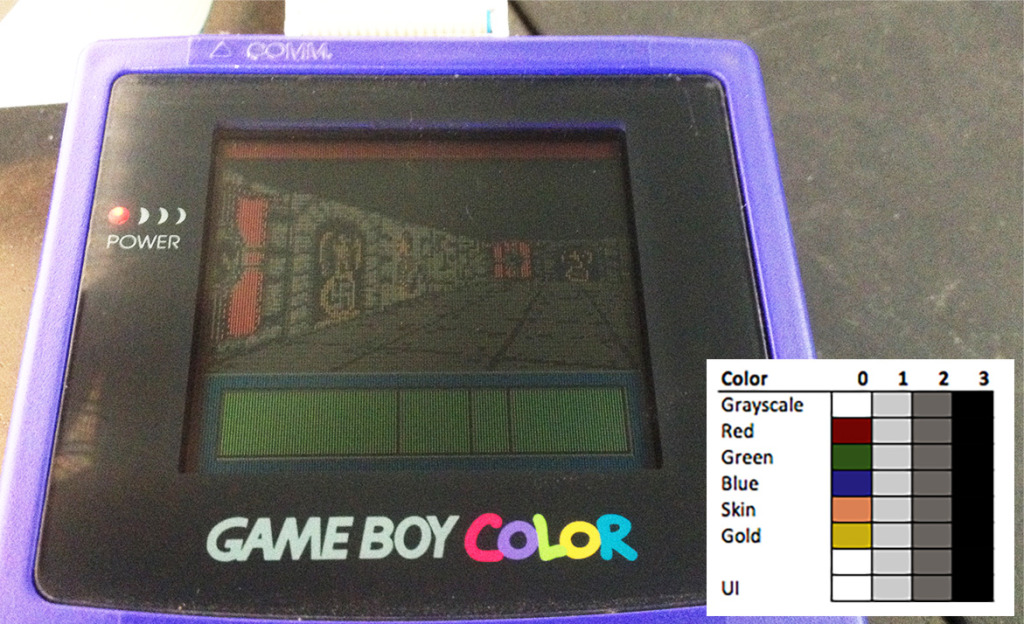
Simple work-in-progress raycaster test on Rev.C cartridge:
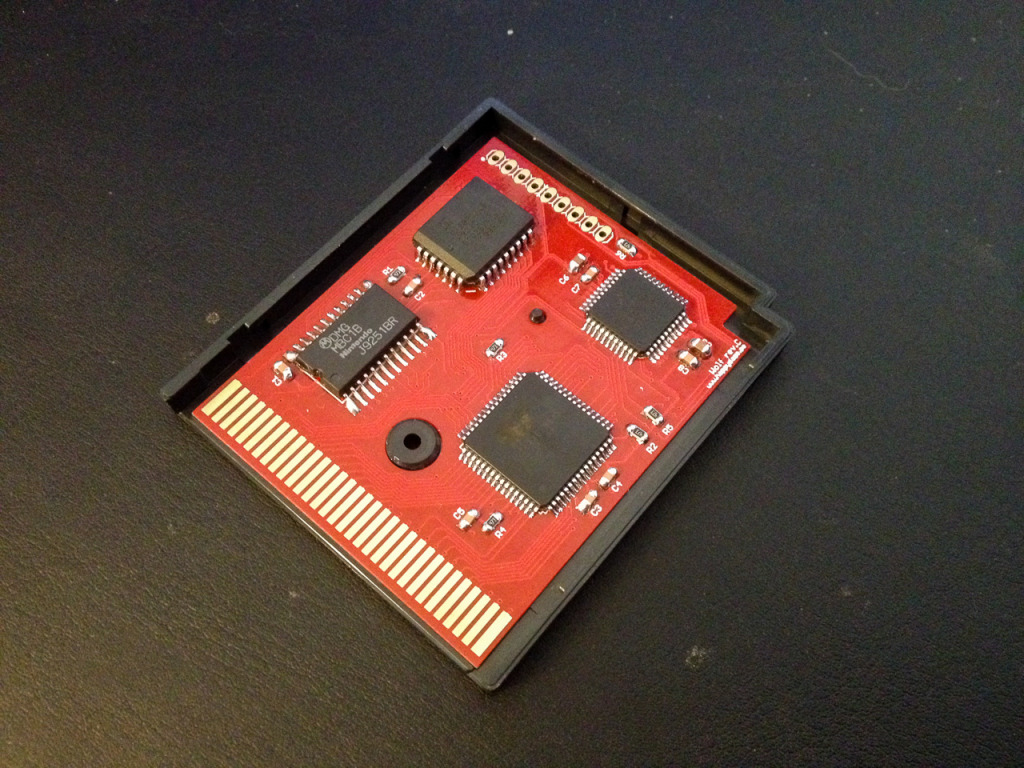
Cartridge Rev.C:
New PCB’s arrived in the mail!
Like last time, it took exactly one week from placing the order. I can’t recommend www.elecrow.com enough.
Here is a fully populated Rev.C board, I am extremely happy everything works as expected and that I didn’t need any bodge wires this time around.
As far as hardware goes, this could easily be called the final revision. I will now focus more on the software side of things.
Board contains: MBC1B, AM29F040B, CY7C144E-55AXC, MKE04Z128VLD4, resistors & capacitors
First test of image generation:
The coprocessor needs about 2ms to convert the framebuffer to tiles and transfer it to sram.
This leaves 31ms for processing/rendering if we run at 30fps, plenty!
The Gameboy can only DMA 128 tiles to VRAM per VBlank, so we need to run at 30 fps to get a maximum of 256 tiles.
256 tiles gives us either 160×96 or 128×128 pixel resolution.
This does not fill the entire Gameboy screen which is 160×144 pixels, but the Gameboy side could easily fill the blank space with border/gameplay UI so it’s not a big deal.
It is possible to cover the entire screen by rendering the image in half height and double it to normal size by manipulating the scroll-y register in the HBlank interrupt. That would result in only 180 tiles for the entire screen at the expense of halving the vertical resolution.
New board ordered
Rev.C designed and PCBs ordered from Elecrow.
This version fixes the flaws present on Rev.B and includes the KE04 processor on the board.
It has pin headers for connecting the SWD debugger plus a couple of extra unused pins.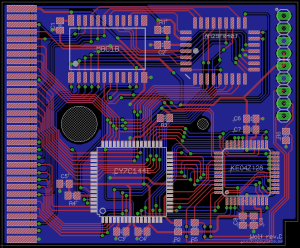
co-processor
I will try to use the KE04 from NXP as a co-processor.
It runs on 5V and has enough pins for the dp-sram, plus some extras that I may or may not need.
It sports an ARM Cortex-M0 @ 48Mhz, 128kb flash and 16kb ram. It also has bit manipulation features that could be useful for manipulating gameboy graphics.
I was first looking to use the Atmel SAMC20E18 which is almost identical to the NXP but with double the amount of flash and ram, however it might not have enough pins, and it does not have bit-banding features so I am going with the NXP.
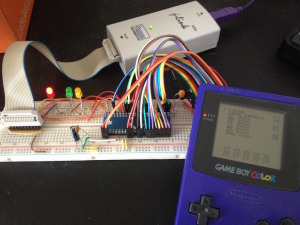
KE04 up and running. It reads/writes the dual port sram and reacts to EA0-EA1 pins. Everything powered by the Gameboy batteries.
Testing the rev.B cartridge
Wrote a simple program for testing cart sram read/write/dma.
Also verified that I can toggle the EA0 and EA1 pins correctly, I plan on using these as a form of communication/triggers from Gameboy to co-processor.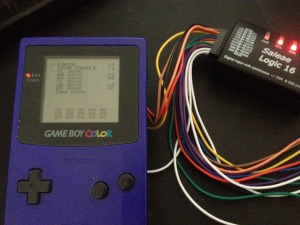
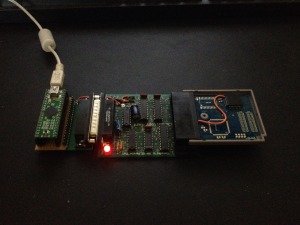
Second eeprom programmer
I had a C3 flashcart programmer from Jeff Frohwein lying around since some 20-ish years ago.
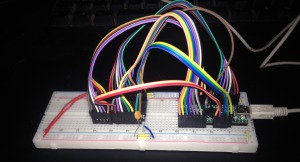
It connects to the PC Parallell port, which my Mac lacks, so with some modifications I could interface it with my Teensy++ and now program the AM29F040 which is soldered onto the cartridge.
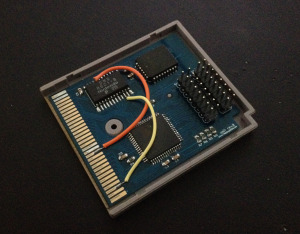
Second prototype cartridge
Contains:
– MBC1 memory mapper salvaged from a gameboy game
– AM29F040 (eeprom)
– CY7C144E (dual port sram)
– Pin header for right side of CY7C144E and some other useful pins for the co-processor.
Since OSHPark only offer PCBs of 1.6mm thickness I had to look elsewhere for thinner PCBs.
Update: I later found out that OSHPark actually has an option for 0.8mm PCBs. I must have missed that when I was looking for it.
I heard good things about Elecrow and they did not disapoint. Super fast turn around time – The PCBs arrived at my home in Sweden almost exactly 1 week after placing the order (I selected DHL for shipping).
Their prices are very good and you have a good selection of options. I will keep using them for all my future PCB orders.I had missed one trace, and routed another one to the wrong pin of the MBC1 chip but these issues can easily be fixed with wires so they are good for prototyping.
First EEprom programmer
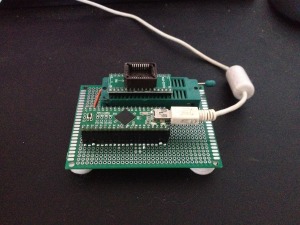
Made an eeprom programmer using a Teensy++.
It can program 512kbit AM29F040 eeproms in either DIP or PLCC package (using an adapter)
Baby steps.
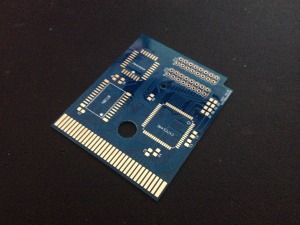
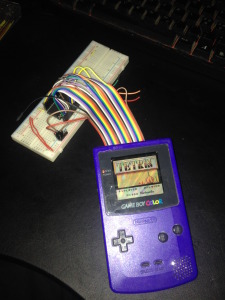
A Gameboy IO breakout cartridge. Breaks out the cart connector and MBC chip to pin headers. Designed in Eagle and manufactured by Oshpark.
Oshpark PCB’s are way too thick. The correct thickness seem to be roughly half of that of an Oshpark PCB.
Never the less, it can be inserted in a Gameboy with some convincing (read: brute force!).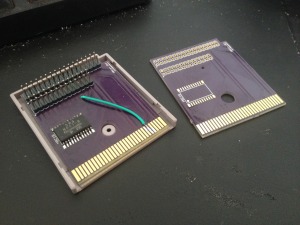
Breakout cart
